As the holiday season approaches, the quest for effortlessly delicious treats that captivate every palate begins. Enter Holiday Rocky Road Bars: a truly easy, no-bake confection that consistently earns its title as a family favorite. Imagine a harmonious blend of rich, smooth chocolate, fluffy marshmallows, and a satisfying crunch from nuts or other delightful additions. This classic dessert isn't just simple to make; it's a nostalgic taste of childhood for many, a perfect addition to any festive spread, and a guaranteed crowd-pleaser that disappears from cookie trays faster than you can say "Happy Holidays!"
The beauty of rocky road bars lies in their simplicity. There's no oven required, only a handful of common ingredients, and minimal effort, making them an ideal project for busy parents, budding young bakers, or anyone with a serious sweet tooth looking for a quick fix. Whether you're making them for a party, a homemade gift, or simply to satisfy a craving, these bars deliver big on flavor with remarkably little fuss. Get ready to discover why these chewy, chocolatey delights are about to become your new holiday tradition.
Why Rocky Road Bars Are Your Go-To Holiday Treat
During the bustling holiday season, time is often a precious commodity, and oven space can be even rarer. This is precisely where rocky road bars shine as an unparalleled festive dessert. Their no-bake nature means you can whip up a batch (or several!) without tying up your oven, leaving it free for roasts, casseroles, or other baked goods. This efficiency makes them a lifesaver when you're juggling multiple dishes and deadlines.
Beyond their practicality, these bars possess an irresistible charm that resonates with all ages. For many, the taste of easy no-bake rocky road bars evokes cherished memories of childhood parties, school bake sales, and cozy family gatherings. They offer a delightful textural contrast that keeps every bite exciting: the silky melt of chocolate, the soft give of marshmallows, and the satisfying snap or chew of the "rocky" elements. This universal appeal is what makes them a perennial family favorite, requested year after year, and often the first treat to vanish from any dessert platter.
The minimal ingredient list and quick preparation time – often less than 30 minutes from start to finish before chilling – also make rocky road bars incredibly forgiving and adaptable. You don't need to be an expert chef or baker; success is practically guaranteed. This ease encourages experimentation and offers a low-stress entry point into holiday baking, allowing you to focus on the joy of creating rather than worrying about complex techniques.
The Anatomy of a Perfect Rocky Road Bar: Ingredients & Variations
At its heart, a perfect rocky road bar is a symphony of simple, yet complementary, ingredients. The flexibility of the recipe also allows for wonderful customization, letting you tailor the bars to specific tastes or dietary needs.
The Chocolate Base
The foundation of any great rocky road bar is, naturally, the chocolate. Most recipes call for semi-sweet chocolate chips, which offer a balanced sweetness that pairs beautifully with the other components. However, don't shy away from experimenting:
- Dark Chocolate Chips: For a richer, more intense chocolate flavor, especially if you prefer a less sweet dessert.
- Milk Chocolate Chips: If you're catering to younger palates or those who prefer a creamier, sweeter profile.
- White Chocolate: While not traditional for the base, a drizzle of melted white chocolate on top can add a festive touch and extra sweetness.
To achieve that ultra-smooth, glossy chocolate mixture that sets perfectly, you'll need a melting agent. Traditionally, this is butter, which adds a lovely richness. Some modern variations, like the use of coconut butter, yield an incredibly smooth and luscious texture, while others incorporate creamy peanut butter not just for flavor, but also to help the chocolate melt into a velvety consistency. The key is to melt these together gently to prevent scorching and ensure a homogenous base.
The "Rocky" Elements
These are the delightful inclusions that give rocky road bars their signature texture and name:
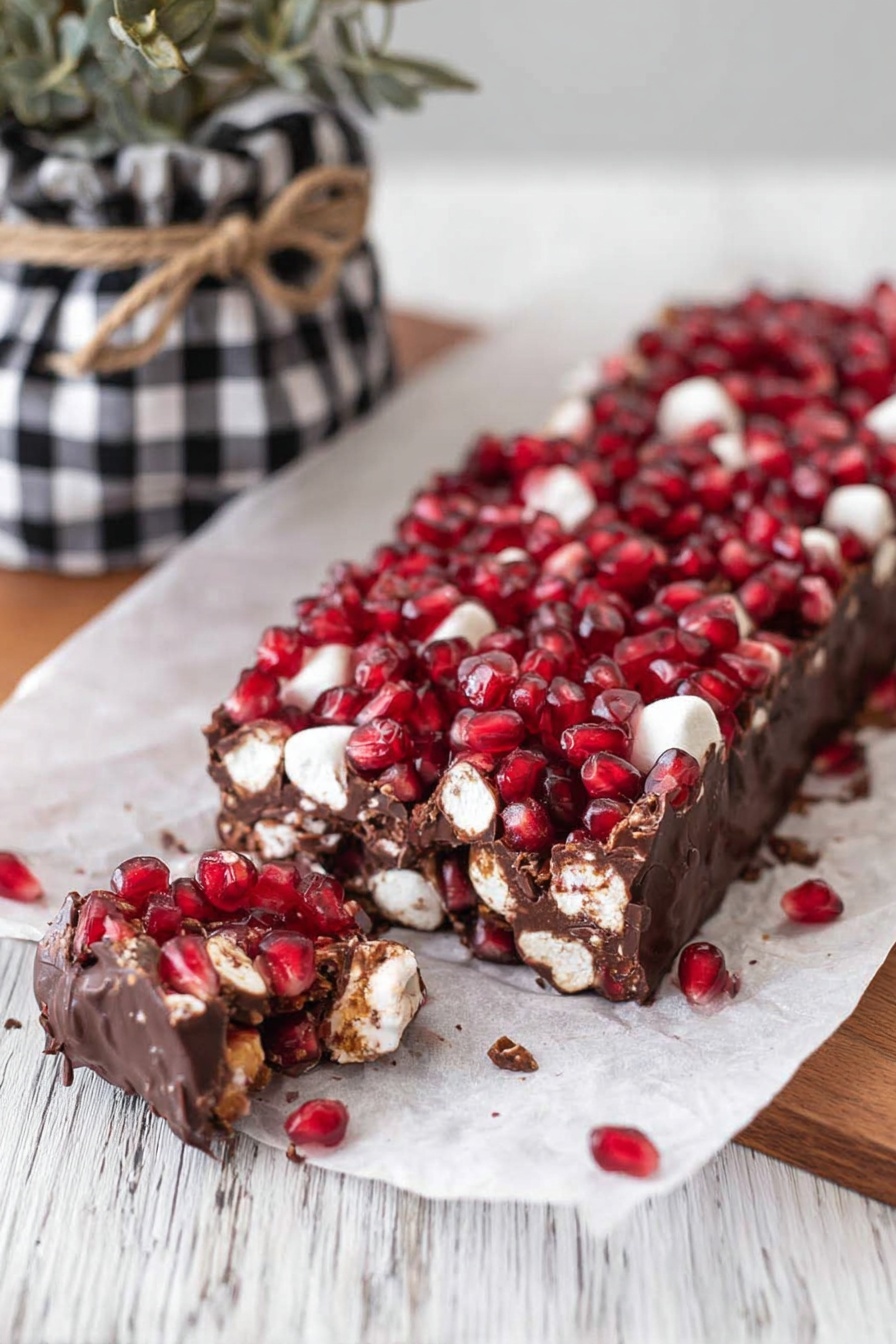
- Mini Marshmallows: Absolutely essential! They provide that signature soft, chewy, pillowy texture that contrasts beautifully with the chocolate. Full-sized marshmallows can be chopped, but mini marshmallows distribute more evenly and are easier to work with.
- The Crunch Factor: This is where much of the variation comes in.
- Cashews: As highlighted by some recipes, buttery cashews offer a delightful crunch and a hint of sweet nuttiness that is incredibly addictive.
- Peanut Butter: Beyond its role in the chocolate base, creamy peanut butter can also replace nuts entirely for those with allergies or a preference for a smoother, richer, intensely peanut-buttery flavor. For best results, opt for a regular, oil-stabilized peanut butter (like JIF) over natural peanut butter, which can separate and affect texture.
- Other Nuts: Walnuts, pecans, or almonds are fantastic alternatives, each lending its unique flavor and crunch. Toasting them lightly beforehand can enhance their aroma and taste.
- Pretzels: Crushed pretzels introduce a wonderful salty-sweet dynamic and a unique crispiness.
- Crisp Rice Cereal: For an extra light and airy crunch, similar to a chocolate crunch bar.
- Crushed Cookies: Oreos or graham crackers can add another layer of flavor and texture.
Flavor Boosters & Customizations
Don't stop at the basics! Elevate your best rocky road bars with a few extra touches:
- Vanilla Extract: A splash of good quality vanilla extract always enhances chocolate flavor.
- Sea Salt: A tiny pinch of flaky sea salt sprinkled over the top before chilling can dramatically intensify the chocolate and balance the sweetness.
- Espresso Powder: A secret weapon! A teaspoon of instant espresso powder or fine coffee grounds will deepen the chocolate flavor without making the bars taste like coffee.
- Holiday Spices: For a truly festive twist, consider adding a whisper of cinnamon, nutmeg, or even a tiny amount of pumpkin pie spice to the melted chocolate mixture.
- Dried Fruit: Chopped dried cranberries, cherries, or even candied orange peel can add chewiness and a burst of fruity flavor.
- Decorative Toppings: Before setting, sprinkle with festive sprinkles, crushed candy canes, or a contrasting chocolate drizzle for extra visual appeal.
Mastering the No-Bake Method: Simple Steps for Success
The beauty of rocky road bars is truly in their straightforward preparation. This isn't baking; it's assembling! Follow these simple steps for perfect bars every time.
Melting the Chocolate Mixture
The first crucial step is creating your luscious chocolate base. This can be done using one of two popular methods:
- Microwave Method: This is the quickest and most common approach. Combine your chocolate chips, butter (or coconut butter/peanut butter) in a large, microwave-safe bowl. Heat in short bursts, typically 30-second intervals, stirring thoroughly after each. Continue until the mixture is smooth and glossy. The key is to avoid overheating, which can cause the chocolate to seize or burn. The residual heat from the bowl and the melted ingredients will continue to melt any remaining chocolate chips.
- Stovetop Method (Double Boiler): If you prefer a more controlled melting process, a double boiler is ideal. Place a heat-proof bowl over a saucepan of simmering water (ensure the bottom of the bowl doesn't touch the water). Add your chocolate chips and butter to the bowl and stir continuously until melted and smooth. This method provides gentle, even heat and reduces the risk of burning.
The addition of butter, coconut butter, or peanut butter at this stage is crucial not just for flavor, but also for the texture. They help create an ultra-smooth, glossy chocolate mixture that coats the marshmallows and nuts beautifully and sets up with the perfect fudge-like consistency.
Combining and Setting
Once your chocolate base is perfectly melted and smooth, it's time for the fun part:
- Fold in the "Rockies": Remove the chocolate mixture from the heat. Gently fold in your mini marshmallows and chosen crunchy elements (cashews, peanut butter, pretzels, etc.). Work quickly but carefully to ensure everything is evenly coated without deflating the marshmallows too much.
- Prepare Your Pan: Line an 8x8 or 9x13-inch baking pan with parchment paper, leaving an overhang on the sides. This makes for super easy removal and cutting later on. A light spray of cooking oil can help the parchment paper stick.
- Press and Chill: Pour the rocky road mixture into the prepared pan. Using a spatula or your hands (lightly greased if it's too sticky), press the mixture down firmly and evenly into the pan. This ensures the bars hold together well when cut.
- Chill to Set: Transfer the pan to the refrigerator and chill for at least 2-3 hours, or until completely firm. For quicker results, you can place it in the freezer for about 30-45 minutes.
- Cut and Serve: Once completely set, use the parchment paper overhang to lift the entire slab of rocky road out of the pan. Place it on a cutting board. For clean cuts, use a large, sharp knife. Running the knife under hot water and wiping it clean between cuts can help achieve pristine squares or rectangles.
Beyond the Holidays: Rocky Road Bars for Every Occasion
While rocky road bars are undeniably a holiday MVP, their versatility extends far beyond the festive season. Their grab-and-go nature makes them perfect for potlucks, bake sales, or as a delightful addition to lunchboxes. Packaged individually, they make thoughtful homemade gifts for teachers, neighbors, or friends – just ask any mom who’s been known to send friends home with boxes of these coveted treats!
For storage, keep your finished rocky road bars in an airtight container at room temperature for up to a week, or in the refrigerator for up to two weeks, especially in warmer climates. They also freeze beautifully for up to 2-3 months, making them an excellent make-ahead option for future cravings or unexpected guests. Simply thaw at room temperature before serving.
These bars are not just a dessert; they're a canvas for creativity, a testament to the power of simple ingredients, and a surefire way to bring smiles to faces. Whether you stick to the classic combination of chocolate, marshmallows, and cashews or venture into unique flavor profiles with peanut butter and pretzels, the outcome is always a chewy, chocolatey delight that speaks volumes of comfort and joy.
So, this holiday season, skip the complex baking projects and embrace the effortless charm of easy no-bake rocky road bars. With minimal ingredients, simple steps, and endless customization possibilities, these treats are destined to become a cherished tradition in your home, loved by everyone who takes a bite. Happy making, and happy indulging!
