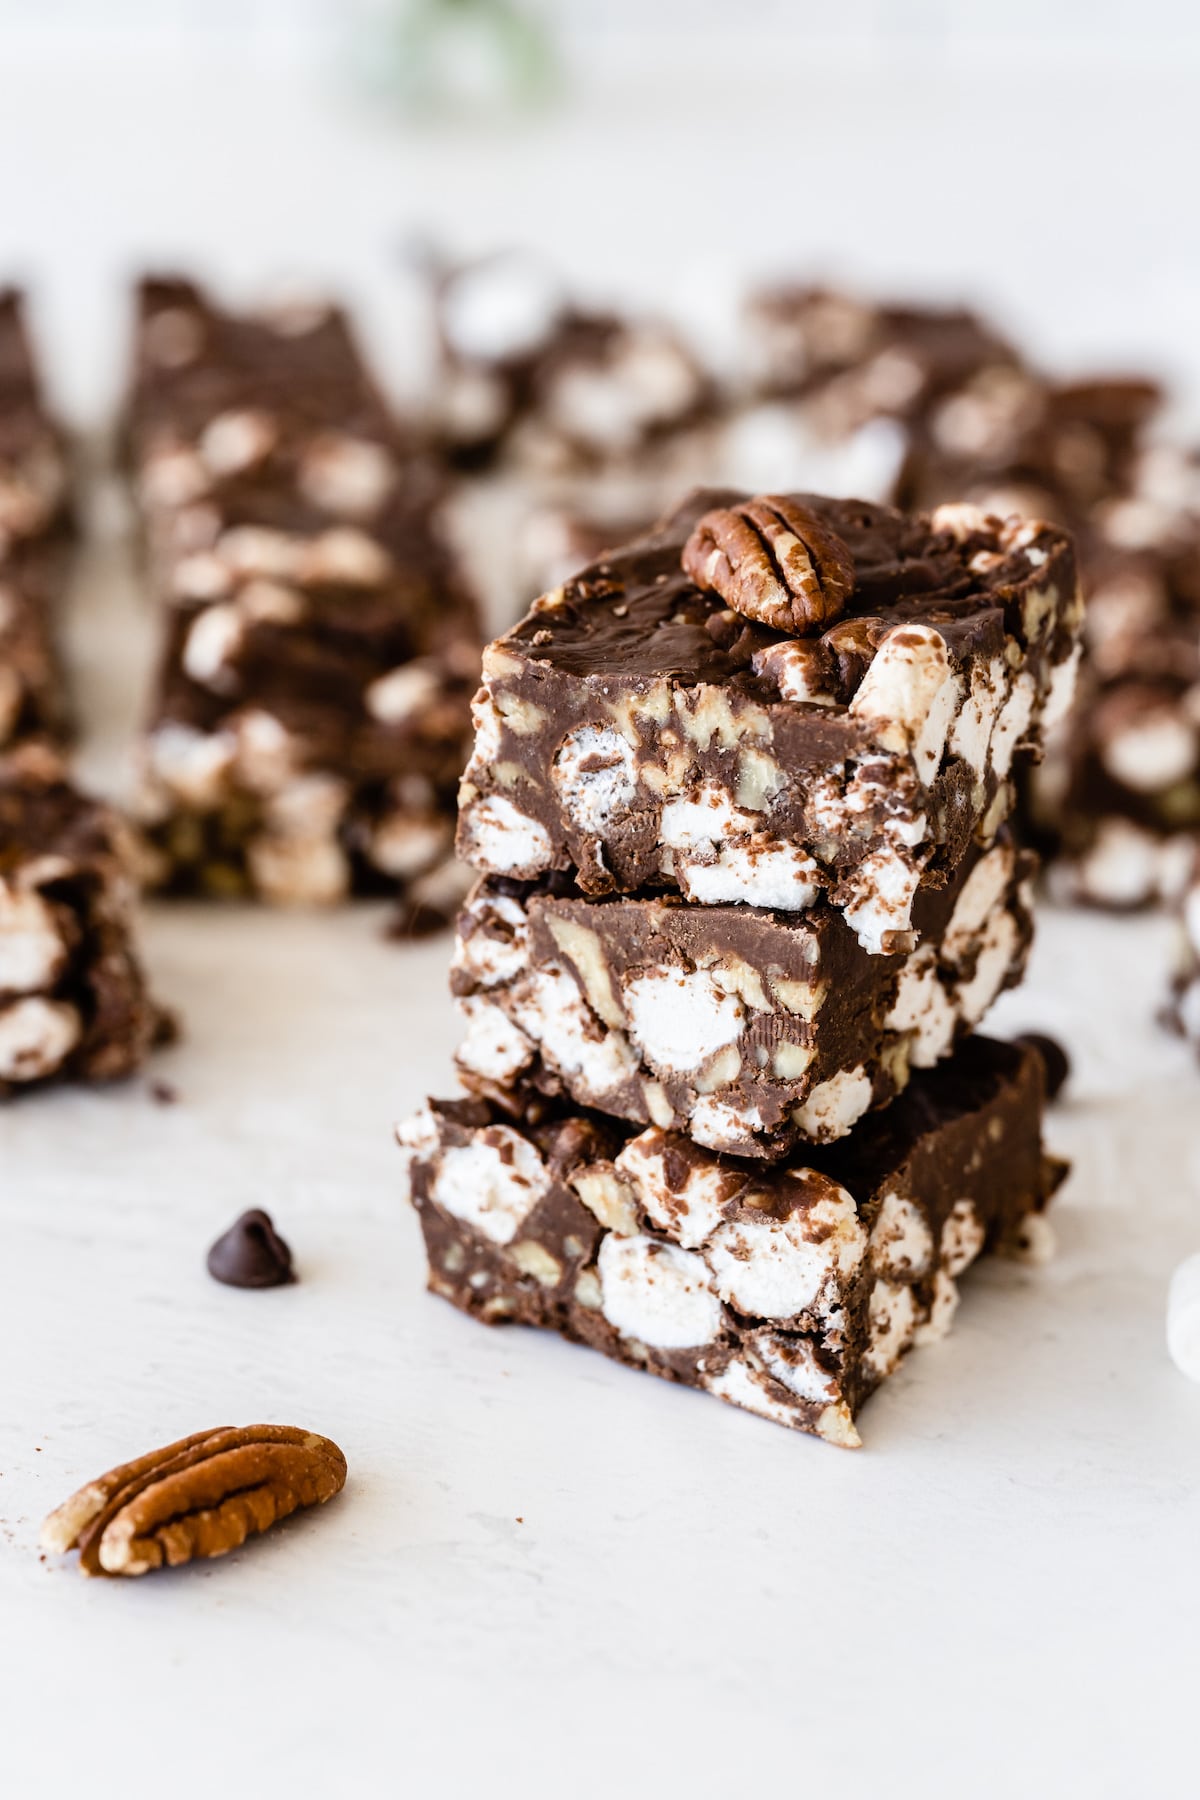
Imagine a dessert so utterly delightful, so ridiculously easy, that you can whip it up in just 30 minutes with only four ingredients, no oven required. Sound like a dream? Welcome to the wonderful world of Easy No-Bake Rocky Road Bars! These irresistible treats are a testament to the fact that the most satisfying sweets don't need complex steps or a long list of fancy components. With layers of smooth chocolate, soft, chewy marshmallows, and the rich depth of peanut butter, these bars offer that classic rocky road texture that's impossible to resist.
Whether you're a seasoned dessert connoisseur or someone who considers melting chocolate chips an advanced culinary skill, this recipe is designed for you. It's a perfect solution for last-minute cravings, spontaneous gatherings, or simply satisfying your sweet tooth without the fuss. Let's dive into why these simple Best Rocky Road Bars: Cashews, Peanut Butter & Crowd Favorite are about to become your new kitchen MVP.
Why These No-Bake Rocky Road Bars Are Your New Go-To Dessert
There's an undeniable charm to no-bake desserts, and these rocky road bars embody it perfectly. For starters, the sheer simplicity is a game-changer. Forget preheating ovens, monitoring baking times, or stressing over precise measurements. This recipe is incredibly forgiving, making it ideal for novice cooks and busy parents alike. The magic happens right on your stovetop or in your microwave, followed by a quick chill in the fridge – that's it!
Beyond the ease, the appeal of these bars lies in their glorious texture and flavor profile. Each bite delivers a harmonious blend of creamy, rich chocolate, punctuated by the soft give of mini marshmallows and the nutty undertone of peanut butter. They are chewy, chocolatey, and utterly satisfying, hitting all the right notes for a comforting treat. It's no wonder they're consistently a crowd favorite, often disappearing first from any dessert spread. Many families, including my own, grew up with variations of these easy treats, often making them for holidays or as a go-to sweet when a serious craving hit. Their popularity isn't just about taste; it's about the joyous simplicity they bring to any occasion.
Mastering the 4-Ingredient Magic: What You'll Need & Why
The beauty of this recipe truly lies in its minimal ingredient list, making it accessible and budget-friendly. To create these incredible rocky road bars, you'll need just four core components:
- Semi-Sweet Chocolate Chips: These form the luxurious, chocolatey base of your bars. Semi-sweet offers a perfect balance – rich enough to satisfy chocolate lovers without being overly sweet. However, feel free to experiment! If you prefer a darker, more intense chocolate flavor, opt for dark chocolate chips. For a sweeter, creamier bar, milk chocolate chips can also be used. The quality of your chocolate chips will subtly influence the final taste, so choose a brand you enjoy.
- Creamy Peanut Butter: This is the secret ingredient that elevates these rocky road bars to another level. Peanut butter provides an incredible richness, a subtle nutty flavor, and helps create that desirable smooth, chewy texture. It also contributes to the bars setting up beautifully without being too hard. A crucial tip: For the best results, stick with a regular, stir-free creamy peanut butter (like JIF or Skippy) rather than natural peanut butter, which tends to separate and can alter the texture.
- Salted Butter: A small amount of butter helps the chocolate mixture melt into a beautifully smooth, glossy consistency. The hint of salt in salted butter also plays a vital role in balancing the sweetness of the chocolate and marshmallows, enhancing all the flavors. If you only have unsalted butter, a tiny pinch of salt added with the chocolate can achieve a similar effect.
- Mini Marshmallows: No rocky road is complete without these! Mini marshmallows provide that signature chewy texture and bursts of sweet, pillowy goodness throughout the bars. Using mini marshmallows ensures they are evenly distributed in every bite and makes them easy to fold into the melted chocolate mixture without becoming a sticky, unmanageable mess.
This quartet of ingredients works in perfect harmony to create a treat that's far greater than the sum of its parts. Each component plays a specific role, contributing to the irresistible flavor and texture that makes these rocky road bars so beloved.
Whip Up Your Easy Rocky Road Bars in Just 30 Minutes!
The entire process of making these rocky road bars is astonishingly quick and straightforward. Here’s how you can go from zero to delicious in under half an hour:
- Prepare Your Pan: First, line an 8x8 or 9x9 inch baking pan with parchment paper or foil, leaving an overhang on the sides. This simple step is a lifesaver, making it incredibly easy to lift the entire batch out of the pan for clean cutting once set.
- Melt the Chocolate Base: In a large, microwave-safe bowl, combine your chocolate chips, creamy peanut butter, and salted butter. Heat the mixture in the microwave in 30-second increments, stirring well after each cycle. This gradual heating and consistent stirring are key to achieving a smooth, lump-free chocolate mixture. Continue until the mixture is completely melted and glossy. Alternatively, you can melt these ingredients in a heatproof bowl set over a saucepan of simmering water (a double boiler) on the stovetop, stirring constantly until smooth.
- Combine with Marshmallows: Once your chocolate mixture is perfectly smooth, remove it from the heat. Add the mini marshmallows to the bowl and gently fold them into the chocolate using a spatula. Work quickly but carefully, ensuring the marshmallows are coated but don't completely melt. The goal is to keep their shape for that classic rocky road texture.
- Press and Chill: Pour the marshmallow-chocolate mixture into your prepared pan. Use the back of your spatula or a piece of parchment paper to gently press the mixture evenly into the pan. This helps create a compact bar. Now comes the easy part: transfer the pan to the refrigerator and chill for at least 15-20 minutes, or until the bars are completely set and firm to the touch.
That's it! Once chilled, use the parchment paper overhang to lift the entire slab of rocky road out of the pan. Place it on a cutting board and slice into squares or rectangles of your desired size. The result? Perfectly chewy, chocolatey, and utterly satisfying no-bake rocky road bars, ready to be devoured.
Customizing Your Rocky Road Bars: Endless Delicious Possibilities
While the 4-ingredient recipe is a fantastic starting point, it also serves as an incredible canvas for customization. Once you've mastered the basic technique, feel free to get creative and personalize your rocky road experience:
- Add a Nutty Crunch: If you love traditional rocky road with nuts, feel free to add them! Roughly chopped cashews (as featured in some classic recipes), peanuts, walnuts, or pecans can be folded in with the marshmallows. Toasting the nuts lightly before adding them can enhance their flavor significantly. This is a great way to bring in extra texture and flavor, just remember it will technically make it a 5-ingredient bar!
- Exciting Mix-Ins: Expand your flavor horizons with other mix-ins. Consider pretzel bits for a salty-sweet crunch, dried cranberries or cherries for a fruity tartness, shredded coconut for tropical flair, or even a sprinkle of sea salt on top for an extra flavor pop. Experiment with different types of chocolate – white chocolate chips, milk chocolate chunks, or a swirl of both.
- Flavor Boosters: A teaspoon of vanilla extract added to the melted chocolate mixture can deepen its flavor. For holiday variations, a touch of peppermint extract or cinnamon can transform these into festive treats.
- Dietary Adaptations: For those with specific dietary needs, these bars can often be adapted. Use dairy-free chocolate chips and plant-based butter for a vegan version. The recipe is naturally gluten-free, but always double-check ingredient labels if you have strict requirements.
The flexibility of this recipe means you can tailor it to any taste preference or occasion, making it a truly versatile dessert option. Don't be afraid to experiment; the base is so robust, it's hard to go wrong!
Storage, Serving & Why They Disappear So Fast
Once your easy rocky road bars are set, they're ready to be enjoyed! Cut them into individual squares and arrange them on a platter for a party, pack them into lunchboxes, or simply stash them away for a secret snack.
For storage, keep your rocky road bars in an airtight container. They will last for up to a week at room temperature in a cool environment, or even longer in the refrigerator. If storing in the fridge, let them sit out for a few minutes before serving to soften slightly for the best texture. You can also freeze them for longer storage (up to a month), thawing them in the fridge or at room temperature when ready to enjoy.
These bars have a notorious reputation for disappearing quickly at gatherings. Their unique combination of rich, smooth chocolate, delightful chewiness from the marshmallows, and subtle crunch (if you add nuts) makes them incredibly addictive. They are a quintessential "first off the cookie tray" item at holiday parties and family get-togethers. Many people find them so irresistible that they become a staple for gifting – a homemade box of these Holiday Rocky Road Bars: Easy Family Favorite with Simple Steps is often requested year after year, proving that sometimes, the simplest treats are truly the best.
So next time you're in need of a quick, crowd-pleasing dessert that delivers on taste and requires minimal effort, remember these easy no-bake rocky road bars. They're proof that sometimes, the best things in life (and in the kitchen) really are the simplest.
